Home
About
Dr. Lille
Blog
Financing
Expert Witness
Procedures
Breast
Breast Augmentation
Breast Implant Removal
Breast Lift (Mastopexy)
Breast Reduction
Breast Revision
Body
Abdominoplasty (Tummy Tuck)
Liposuction
Body Contouring
Body Lift
Arm Lift
Gynecomastia
Mommy Makeover
Face
Botox
Facelift
Injectable Fillers
Mini Facelift
Liquid Facelift: Non-Surgical
Blepharoplasty (Eyelid Surgery)
Brow Lift
Chin Surgery
Ear Surgery
Earlobe Repair
Facial Fat Grafting
Facial Implants
Lip Lift Surgery
Deep Plane Facelift
Injectables
Botox®
Filler
Liquid facelift
Male
Gynecomastia
Liposuction
Facelift
Skin Procedures
Laser Skin Resurfacing
Before & After
Reviews
Contact Us | Dr. Lille
Consultation
Patient Forms
Out of Town Patients
(480) 661-6197
Before & After Photos
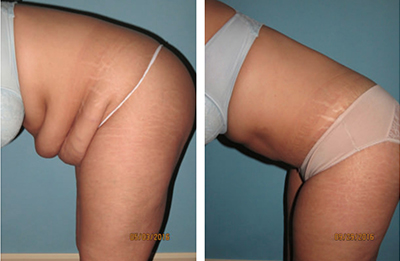
Body Procedures
Tummy Tuck
Mommy Makeover
Liposuction
Body Lift
Brachioplasty (Arm Lift)
Thigh Lift
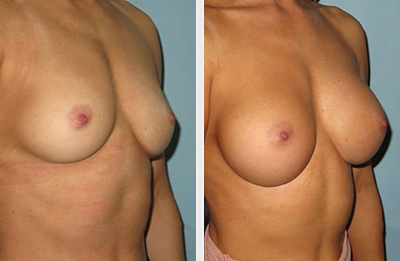
Breast Procedures
Breast Augmentation
Breast Augmentation (with Tubular Correction)
Breast Lift (Mastopexy)
Breast Augmentation with Breast Lift
Breast Revision (Implant Exchange or CAP/CON)
Breast Reduction
Breast Implant Removal
Breast Implant Removal with Breast Lift
Male Breast Reduction - Gynecomastia
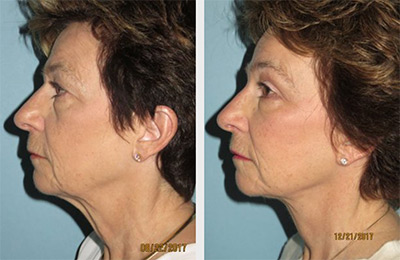
Face Procedures
Facelift
Fat Grafting to Face
Neck Lift: Men
Neck Liposuction
Blepharoplasty
Brow Lift
Skin Resurfacing
Otoplasty
Liquid Facelift & Lip Fillers
(480) 661-6197
9201 E. Mountain View Rd, Suite 225
Scottsdale, AZ 85258
Request a Consultation
I agree to the
Terms of Use
Please leave this field empty.
Δ
5 Stars From Over 1000 Reviews!